|
|

Creating Custom Attribute Types and Adding Custom Attributes |

|

|

|
||
Creating Custom Attribute Types and Adding Custom Attributes |
|
|
|

|
|
|
Creating Custom Attribute Types and Adding Custom Attributes |
|
|
|
||
Creating Custom Attribute Types and Adding Custom Attributes |
|
|
|
|
|
|
||
Before custom attributes can be used, custom attribute types must be defined in the Modeling Options dialog.
![]() Exercise 83: Create a custom attribute type, add a custom attribute to an element, and assign values to the custom attribute.
Exercise 83: Create a custom attribute type, add a custom attribute to an element, and assign values to the custom attribute.
| 1. Open the Custom Attributes Exercise model. |
| 2. On the Model tab of the ribbon, click on Modeling Options. The Modeling Options dialog will open. |
| 3. Select the Custom Attribute Types tab and click New... The New Custom Attribute Type dialog will open. |
| 4. Type in the Name "Document ID" and select Number from the drop-down list: |
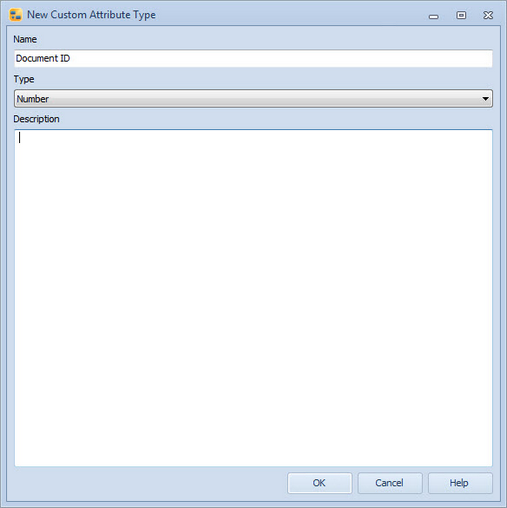
| 5. Click OK to accept the properties. |
| 6. In the Modeling Options dialog, go to the Model Elements tab. Select the Activity element type and click View... The Element Type dialog will open. |
| 7. Switch to the Custom Attribute Types tab and click Add... The Add Custom Attribute Type dialog will open. |
| 8. Select Document ID from the list and click OK. |
| 9. Click OK to close the Element Type dialog and again OK to close the Modeling Options dialog. |
| 10. Now the custom attribute type is defined. Double-click the Standard Reports element on the diagram to open the element properties dialog. |
| 11. Switch to the Custom Attributes tab. |
| 12. Select the Value column on the Document ID row and type in the value 1234. |
| 13. Click OK to close the dialog. |
For creating more complex custom attributes, such as attribute sets or enumerated lists, see QPR Modeling Client - User's Guide for instructions.