|
|

Adding Elements to a Model |

|

|

|
||
Adding Elements to a Model |
|
|
|

|
|
|
Adding Elements to a Model |
|
|
|
||
Adding Elements to a Model |
|
|
|
|
|
|
||
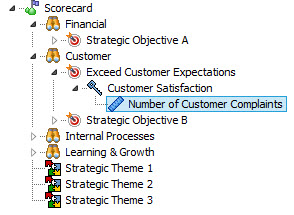
Elements can be created by right-clicking the element below which you want to attach the new element and selecting Create New... > Element > [Element type] from the pop-up menu or dragging the desired kind of element from the Elements section in the Tool Palette. In addition, elements can be created by copying and pasting ready-made elements.
![]() Exercise 99: Add Elements to a Model by Copying and Pasting.
Exercise 99: Add Elements to a Model by Copying and Pasting.
| 1. Create a new model based on the Balanced Scorecard Template. |
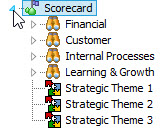
| 2. Open the Scorecard Navigator. |
| 3. Click the |
| 4. Similarly, click the |
| 5. Select the Strategic Objective A element and click the |
| 6. Select the Customer element and click the |
| 7. Right-click the pasted element and select Rename from the pop-up menu. Type "Exceed Customer Expectations" as the name. Alternatively, you can select the pasted element and press F2 or click the |
| 8. Expand the "Exceed Customer Expectations" branch completely and rename the Critical Success Factor A and Measure A elements: |