|
|

Creating a Custom Element Type |

|

|

|
||
Creating a Custom Element Type |
|
|
|

|
|
|
Creating a Custom Element Type |
|
|
|
||
Creating a Custom Element Type |
|
|
|
|
|
|
||
![]()
QPR Modeling Client features a custom element type that can be defined for a range of uses.
![]() Exercise 80: Create a new custom element type.
Exercise 80: Create a new custom element type.
| 1. Create a new model using the Default settings template. |
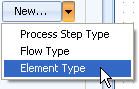
| 2. On the Model tab of the ribbon, click on Modeling Options. The Modeling Options dialog will open. |
| 3. Click the |
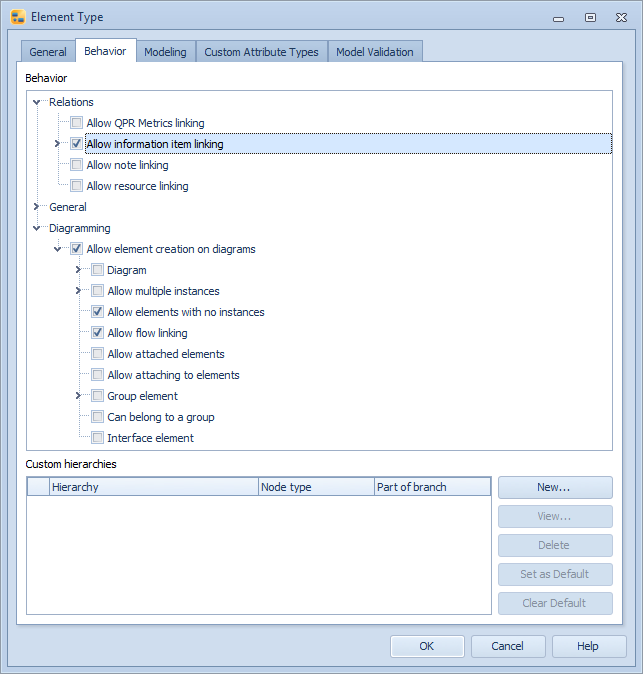
| 4. The Element Type dialog will open. On the General tab, name the element Custom Element Example. |
| 5. Switch to the Behavior tab. We'll want to be able to draw the element on the diagrams, so select Allow element creation on diagrams. |
| 6. In addition, select Allow flow linking and Allow information item linking. The dialog should look like in the picture below: |
| 7. Switch to the Modeling tab. Click on the |
| 8. Click OK to close the Element Type dialog and again OK to close the Modeling Options dialog. The custom element type is now defined and should be visible under the Elements section in the Tool Palette: |
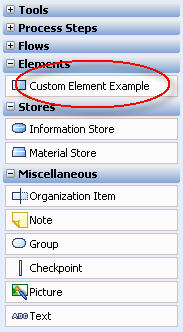
See the Custom Element topic and its subtopics in QPR Modeling Client - User's Guide for more information about custom elements.