Feedback on: QPR Knowledge Base 2017.1 - Creating a Customized Action Discussion ViewCreating_a_Customized_Action_DPortal Training Guide > View Designer > Creating a Customized Action Discussion View /Dear Support Staff,
Creating a Customized Action Discussion View
Exercise 33: Create a Customized Action Discussion View.
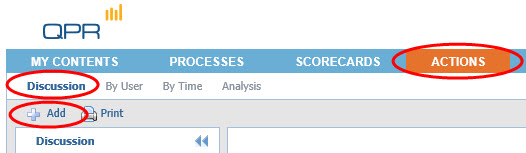
1. On the Actions tab, click Discussion and Add to add a new discussion:
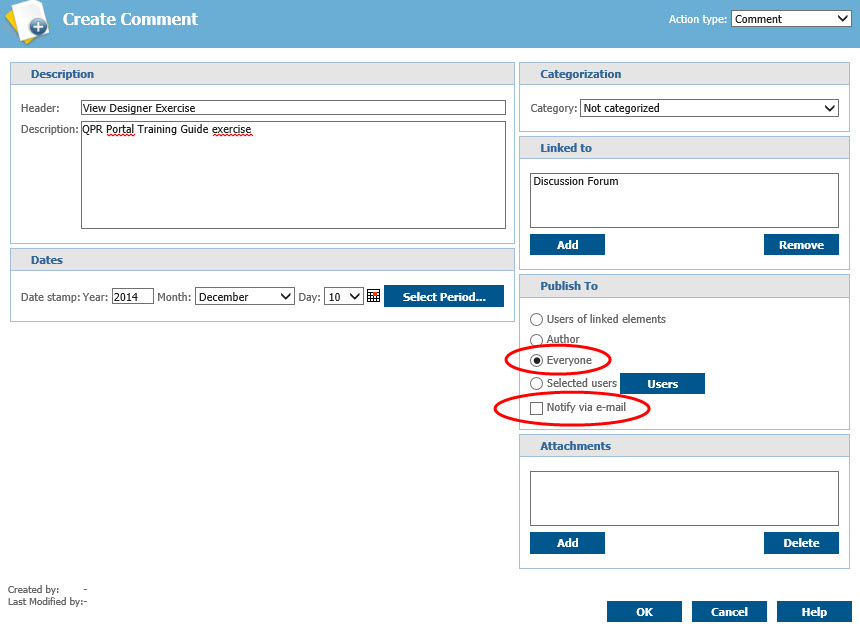
2. A window for creating a new action opens. From the drop-down menu in the top right corner of the window, select Comment as the Action type:
3. Type in "View Designer Exercise" as the Header and add a Description if you want.
4. From the Publish To section, select Everyone and uncheck the Notify via e-mail check box:
5. Click OK.
6. On the Toolbar, click the Show Designer button.
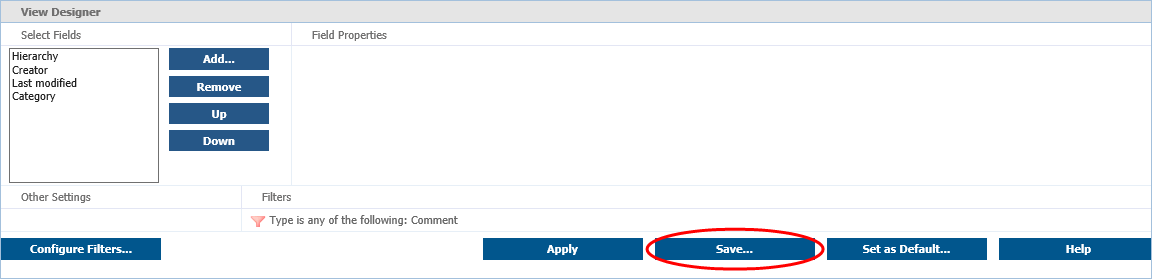
7. The View Designer opens in the Viewing Frame. In the Select Fields section, select the Attachments field and click the Remove button:
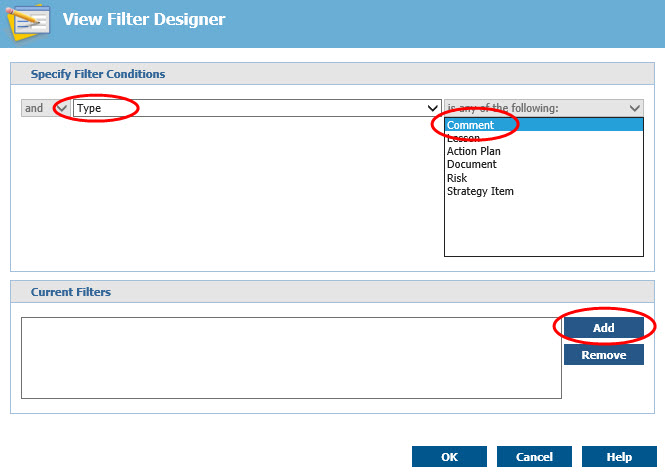
8. Click the Configure Filters button to open the View Filter Designer window.
9. Select Type from the drop-down menu next to the disabled field displaying the text "and".
10. Select Comment from the list below the "is any of the following" list and click Add:
11. Click OK to close the View Filter Designer window.
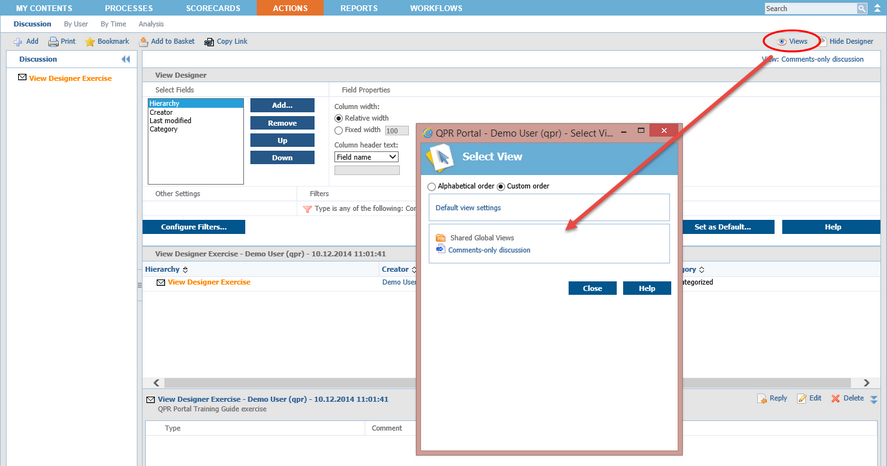
12. In the View Designer section, click Save:
13. Type in "Comments-only discussion" as the name, select Everyone from the Publish To section, and click Save as. The saved view is now available in the Views menu:
For more information, see the Using the View Designer topic, in QPR Portal - User's Guide.