 Exercise 39: Create a Shared Bookmark and Arrange Shared Bookmarks.
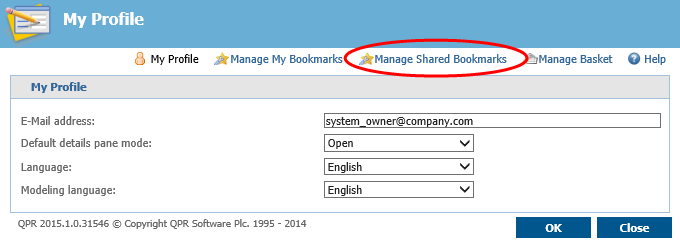
 | 1. In the top right corner of QPR Portal, click Settings. |
| 2. The Settings window opens, click Manage Shared Bookmarks: |
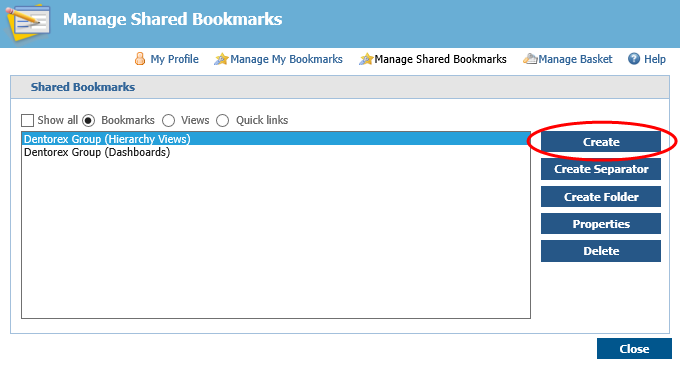
| 3. Click the Create button: |
| 4. The Create New Bookmark window opens. In the Link name field, type "QPR Software Homepage", in the Location field, type "http://www.qpr.com" and make sure that the bookmark is set to be published to Everyone: |
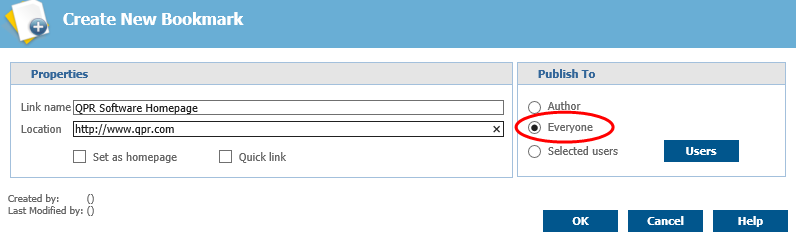
| 5. Click OK. |
| 6. In the Settings window, click the Create Separator button. |
| 7. The Create New Separator window opens. Type in "----- Web Sites -----" as the Separator text, make sure the separator is published to Everyone and click Create. |
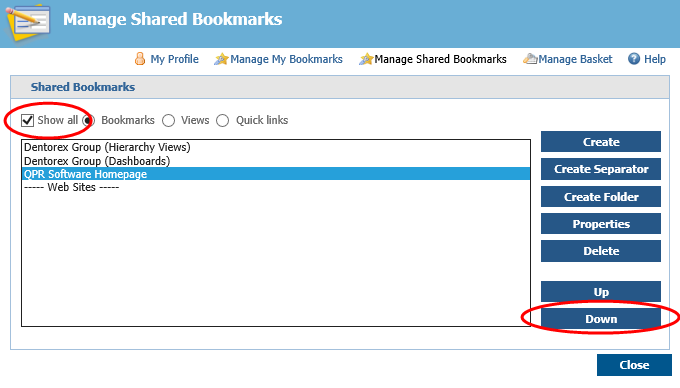
| 8. In the Settings window, select the Show all check box, and then select the QPR Software Homepage and click the Down button: |
| 9. We'll want to edit the QPR Software Homepage bookmark, click the Properties button. |
| 10. The Modify Bookmark window opens. Change the Link name to "QPR Software Homepage - Contact Information" and the Location to "http://www.qpr.com/contact-us" and click OK. |
For more information, see the Settings topic in QPR Portal - User's Guide.