 Exercise 25: Add, Move and Remove a Field from the View.
 | 1. On the Scorecards tab, select the Navigator view. |
| 2. On the Toolbar, click the  Show Designer button: Show Designer button: |

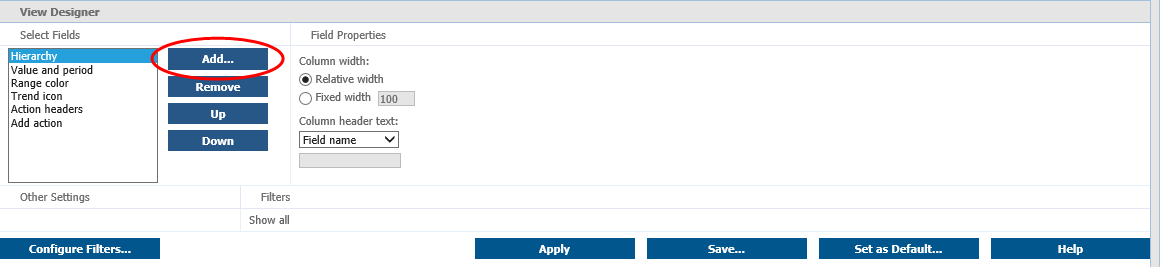
| 3. The View Designer opens in the Viewing Frame. Click Add: |
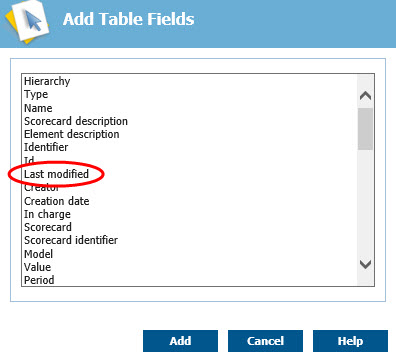
| 4. The Add Table Fields window opens. Select Last modified field from the list and click Add: |
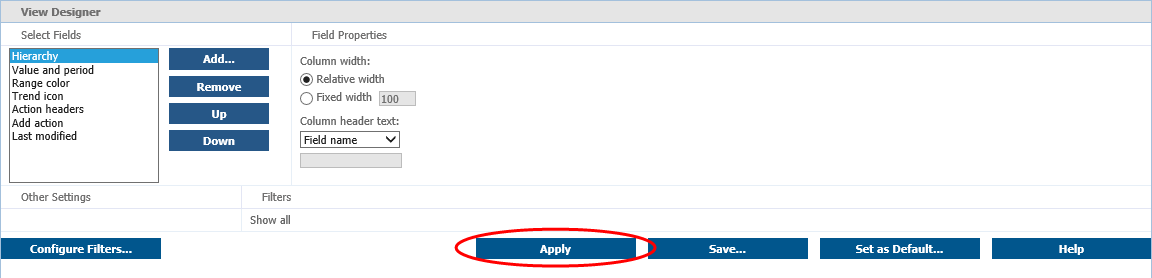
| 5. In the View Designer, click Apply to take the changes into use: |
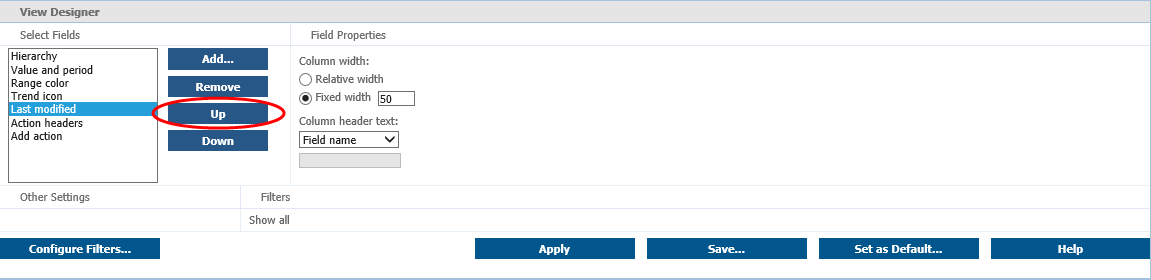
| 6. The Last modified field is added to the right side in the Navigator view. We'll want to move it a bit to the left. In the View Designer, select the Last modified field and click the Up button until the Last modified field is between the Trend icon and Action headers fields in the list: |
| 7. Again, click Apply to have the Navigator view updated. |
| 8. Next we'll remove a field from the view. In the View Designer, select the Trend icon field in the list and click Remove: |
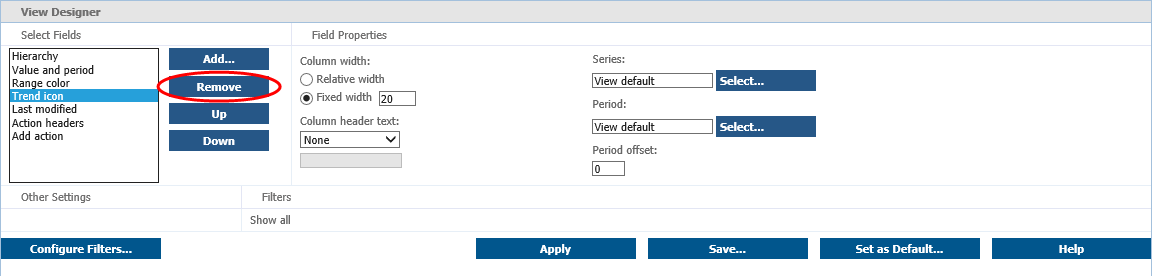
| 9. Again, click Apply. |
| 10. To save these settings, click Save: |
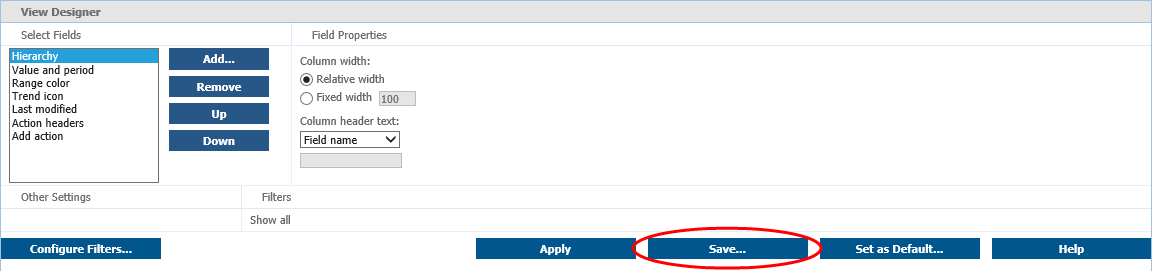
| 11. The Create a New View window opens. Type in a name to the View name field, select Everyone from the Publish To section, and click Save as. |
| 12. To access the view, click the  Views button on the Toolbar and select the view from the list that opens. Views button on the Toolbar and select the view from the list that opens. |
For more information, see the View Designer topic and its sub topics in QPR Portal - User's Guide.