Adding Users and Defining User Rights |

|

|

|
||
Adding Users and Defining User Rights |

|

|

|

|
|
|
||
![]()
![]()
Users and User Groups can be defined in the QPR User Management Client. By customizing the user rights, you can add or delete users and user groups, as well as modify their access levels to the QPR Products.
![]() Exercise 73: Add a new user in the User Management Client and assign him user rights.
Exercise 73: Add a new user in the User Management Client and assign him user rights.
Note that the QPR Foundation Server must be up and running in order to start the client.
| 1. Select QPR User Management Client 2017.1 in the Start screen on Windows versions with the Modern user interface or go to Start > All Programs > QPR 2017.1 Clients > QPR User Management Client 2017.1 in older versions of Windows. |
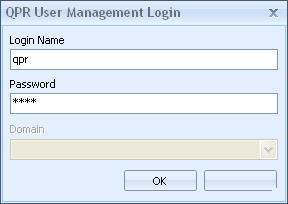
| 2. Type in 'qpr' as the Login name and 'demo' as Password: |

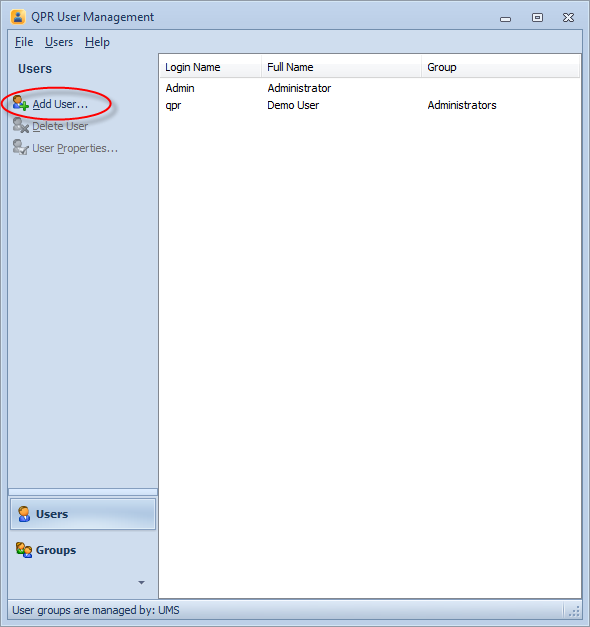
| 3. Verify that Users is selected on the bottom of the left frame and click Add User: |

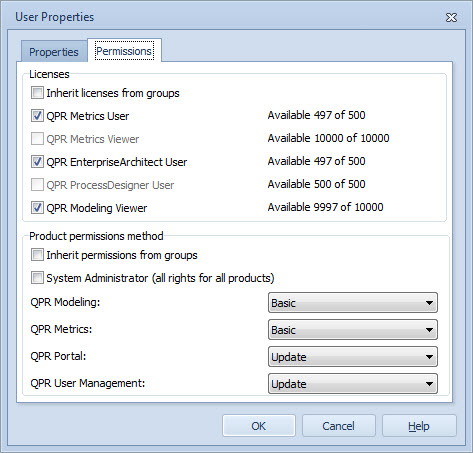
| 4. Enter the login name "jsmith" and click Change Password... to define a password for the login name. Type the full name and your e-mail address as well, so that e-mail notifications can be sent. Verify that Licenses and Product permissions method are defined as in the picture below: |

| 5. Close the dialog by clicking OK. |
For more information, see the Adding and Modifying Users topic in QPR User Management System - User's Guide.