|
|

Loops |

|

|

|
||
Loops |
|
|
|

|
|
|
Loops |
|
|
|
||
Loops |
|
|
|
|
|
|
||
In this chapter, we will repeat the measure page created in the Tags topic for all measures under the Customer and Process perspectives. By using loops, it is possible to repeat some content, for example tags, for all the members of some set, for example all the scorecards in a set of scorecards.
![]() Exercise 5: Create a Loop That Repeats the Measure Page Created in the Tags Topic for All Measures Under the 'Customer' and 'Internal Processes' Perspectives.
Exercise 5: Create a Loop That Repeats the Measure Page Created in the Tags Topic for All Measures Under the 'Customer' and 'Internal Processes' Perspectives.
| 1. Open the designed report document that was created in the Tags topic. |
| 2. Select both tag holders in the document: |
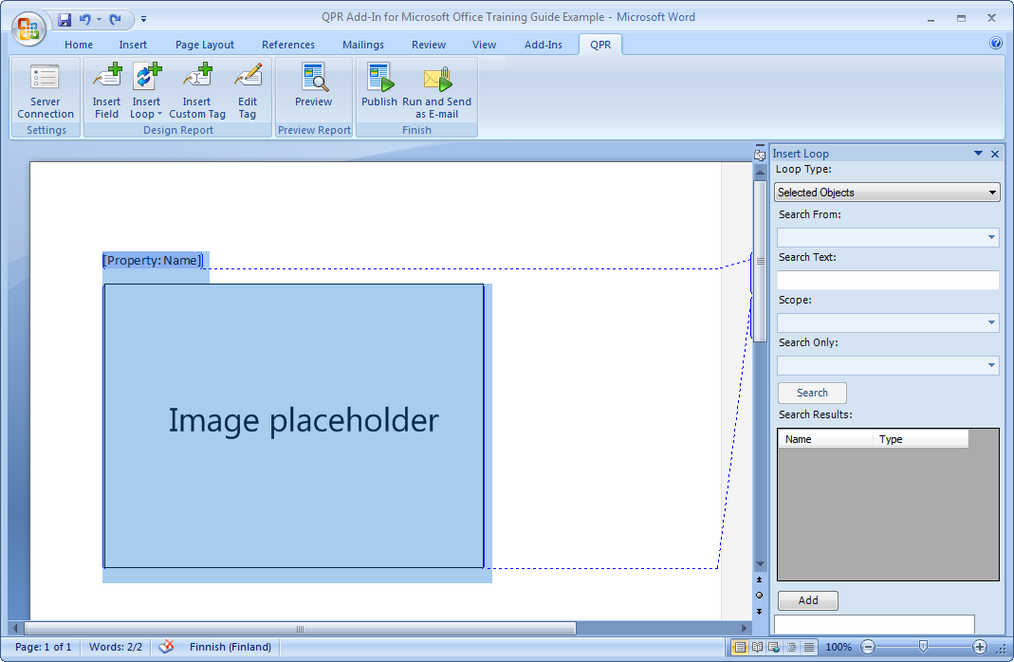
| 3. On the QPR tab of the ribbon, click |
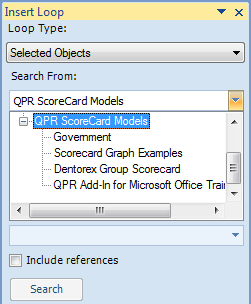
| 4. Select "QPR Metrics Models" from the 'Search From' drop-down menu and expand the hierarchy by clicking the |
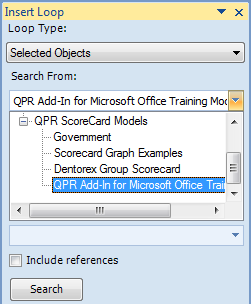
| 5. Select 'QPR Add-In for Microsoft Office Training Model' from the list: |
| 6. From the 'Scope' drop-down menu, expand the hierarchy by clicking the |
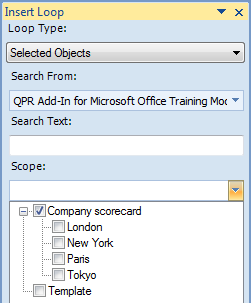
| 7. Make sure that the 'Include References' check box is unchecked. |
| 8. Click the Search button. |
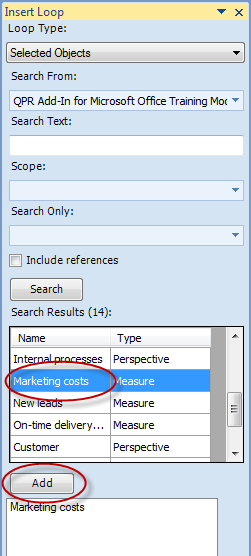
| 9. From the Search Results, select 'Marketing Costs' and click Add: |
| 10. Add also the 'New leads', 'On-time delivery (%)', 'Customer satisfaction', 'Number of individual customer feedbacks', and 'Number of reclamations' measures: |
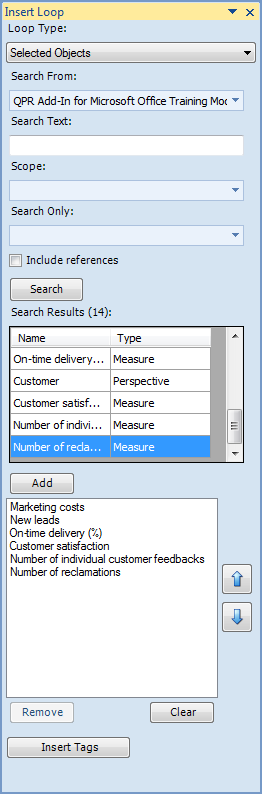
| 11. Click the Insert Tags button. |
| 12. Notice how the FullIds in the tags are replaced by the 'object' variable defined in the first tag: |
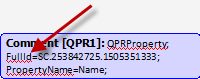
Before
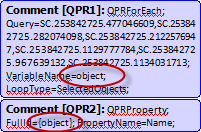
After
| 13. On the Home tab of the ribbon, right-click 'Heading 2' and select 'Modify...'. The Modify Style dialog opens. |
| 14. From the Format drop-down menu, select 'Paragraph...'. The Paragraph dialog opens. |
| 15. Switch to the 'Line and Page Breaks' tab. |
| 16. Select the 'Page break before' check box |
| 17. Click OK to close the Paragraph dialog, and again OK to close the Modify Style dialog. |
| 18. Make sure only the '[Property: Name]' tag holder in the document is selected, and on the Home tab of the ribbon click 'Heading 2'. |
| 19. Save the document. It will be used later. |
| 20. On the QPR tab of the ribbon, click |
For more information, see the Loops topic in QPR Add-In for Microsoft Office - User's Guide.