|
|

Create a Shape Type for Images and Add Images to Hierarchy View |

|

|

|
||
Create a Shape Type for Images and Add Images to Hierarchy View |
|
|
|

|
|
|
Create a Shape Type for Images and Add Images to Hierarchy View |
|
|
|
||
Create a Shape Type for Images and Add Images to Hierarchy View |
|
|
|
|
|
|
||
![]() Exercise 112: Create a Shape Type for Images and add an Image to the Hierarchy View.
Exercise 112: Create a Shape Type for Images and add an Image to the Hierarchy View.
| 1. Open the Dentorex Group Scorecard model. |
| 2. Use a graphics editor to create a suitable default image for future image shapes. Save it either as a BMP, PNG, GIF, or a JPG image. Note that for transparent images you need to use either PNG or GIF. |
| 3. On the Model tab of the ribbon, click the |
| 4. Switch to the Shape types tab and click New. The Shape Type window opens. |
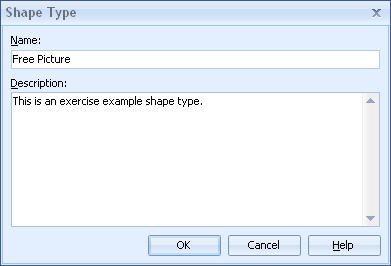
| 5. Type in Free Picture as the name of the shape and add a description if you want to: |
| 6. Click OK. |
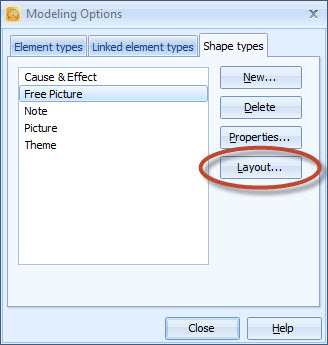
| 7. In the Modeling Options window, select the newly created Free Picture shape type and click the Layout button: |
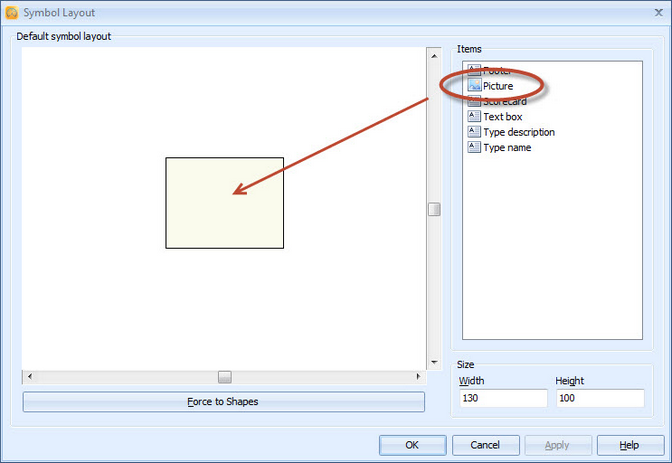
| 8. The Symbol Layout window opens. Drag a Picture item from the list of items over the background shape: |
| 9. A dialog for selecting a picture file opens. Search the file you created in step 2. |
| 10. Resize the image to the desired size and align it over the background shape. Note that the background shape is the area that will react when the shape is clicked for e.g. moving the shape. Therefore it is good to make the background shape cover as much of the shape as possible. However, background shape does not have transparency, so it should not cover areas where transparency is needed. |
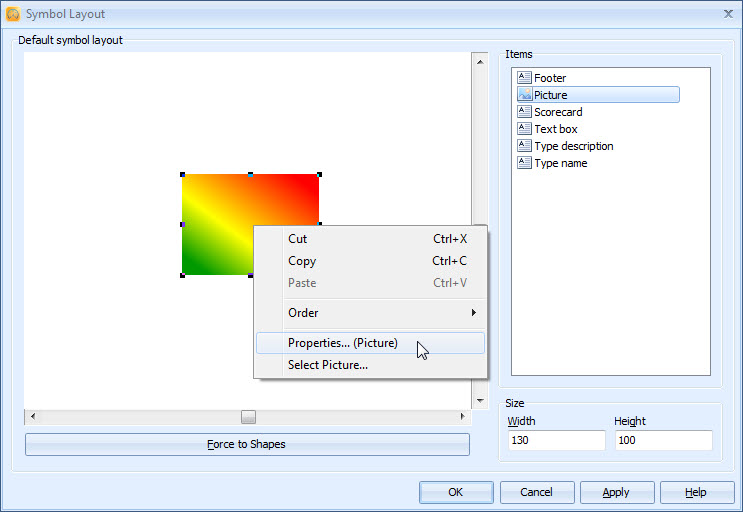
| 11. Right-click the picture and select Properties... (Picture) from the pop-up menu: |
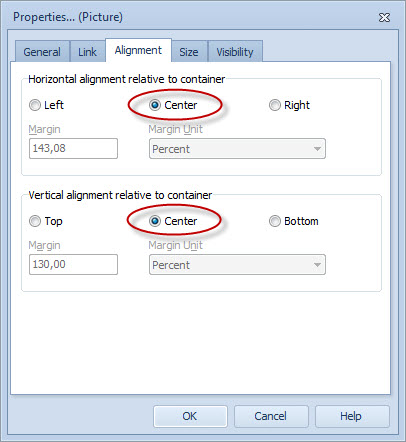
| 12. The Properties... (Picture) window will open. Switch to the Alignment tab. |
| 13. Set both the horizontal alignment and vertical alignment to container to Center: |
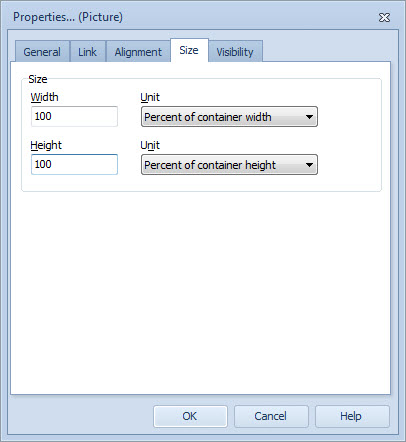
| 14. Switch to the Size tab. From the drop-down menus, set the Width and Height to use the Percent of container setting and set the value to 100: |
| 15. Click OK to close the Properties... (Picture) window. |
| 16. Close the Modeling Options window and open the Hierarchy View. |
| 17. Select the shape you defined earlier from the Shapes section in the Tool Palette. Alternatively right-click on an empty area and expand the Add Shape submenu in the pop-up menu that opens. Select the shape type you defined earlier. |
| 18. Drag the picture to a location of your choice. |
| 19. Add another image shape to the Hierarchy View. |
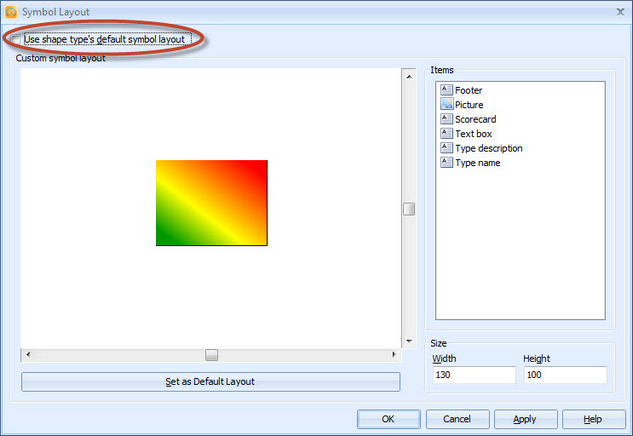
| 20. Right-click on the new image shape and select Symbol Layout from the pop-up menu. The Symbol Layout window opens. |
| 21. Uncheck the Use shape type's default symbol layout check box: |
| 22. Right-click on the symbol and select Select picture... from the pop-up menu. |
| 23. Select a new image for the shape and click OK. Note that the previous shape still uses the default image. |
See the Symbol Layout Window topic in QPR Metrics - User's Guide for more information.