Modify the Symbol Layout of the Elements |

|

|

|
||
Modify the Symbol Layout of the Elements |

|

|

|

|
|
|
||
![]() Exercise 109: Customizing an Element Layout in the Dashboards view.
Exercise 109: Customizing an Element Layout in the Dashboards view.
| 1. Create a new model using the Balanced Scorecard Template. |
| 2. Open the Dashboards view by clicking on the Dashboards button on the bottom of the Model Navigator. |
| 3. From the Tool Palette, drag a Perspective element to the Dashboards view: |
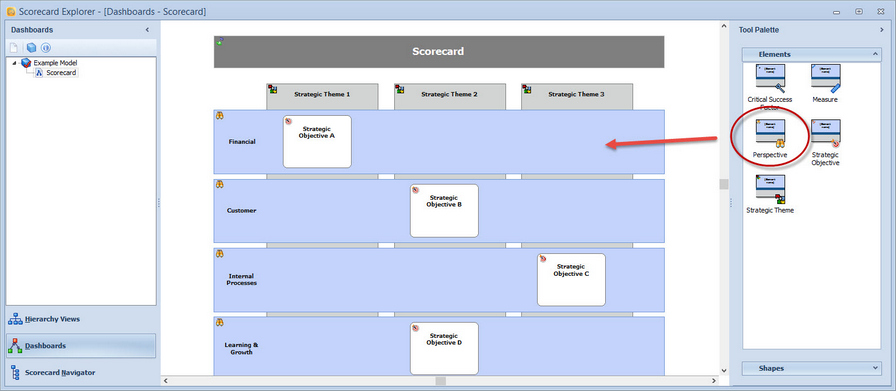
| 4. Right-click the Perspective element that is in the Dashboards view and select Symbol Layout from the pop-up menu: |
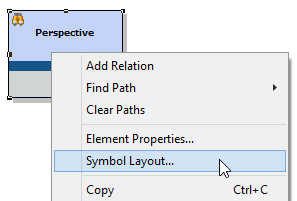
| 5. The Symbol Layout window opens. |
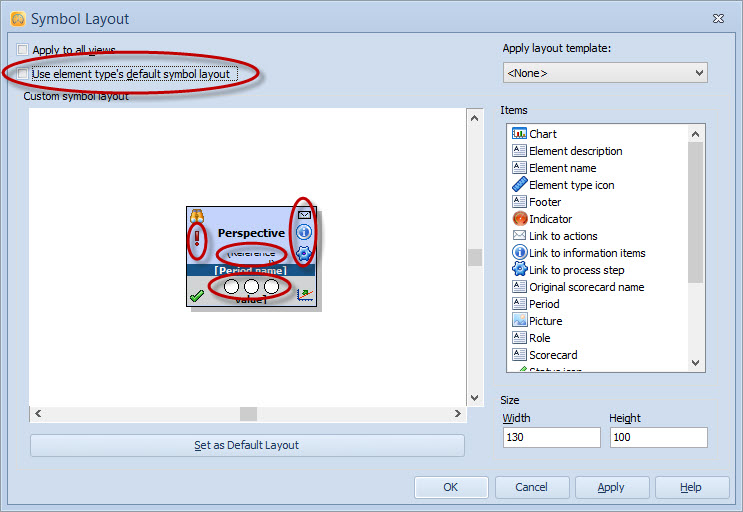
| 6. Remove the selection from the Use element type's default symbol layout check box. In addition, select each of the symbols marked in the picture below and remove them by pressing the Delete key for each: |
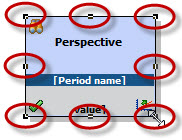
| 7. Resize the layout to be bigger by dragging one of the small black squares on the background element: |
| 8. Right-click the Period name symbol and select Properties... (Text box) from the pop-up menu: |
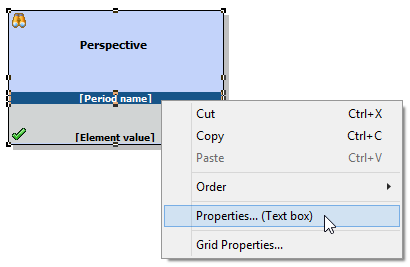
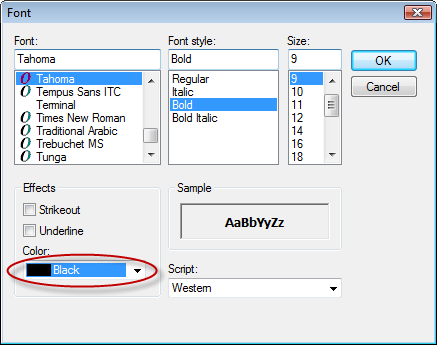
| 9. The Properties... (Text box) will open. On the Text tab, click Font and change the font color to black and click OK: |
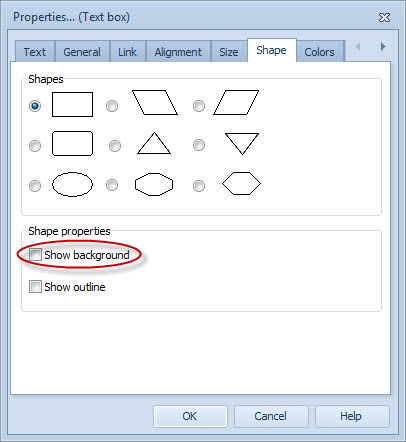
| 10. Switch to the Shape tab and remove the selection from the Show background check box and click OK: |
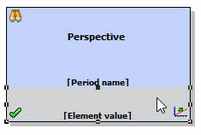
| 11. Click on the bottom right area of the layout to select the Footer symbol and press delete to remove it: |
| 12. Close the Symbol Layout window by clicking OK. |
| 13. As in step 3, drag another Perspective element to the Dashboards view. |
| 14. Select the Perspective with the modified layout, and on the Home tab of the ribbon, click Copy. Alternatively, you can press Ctrl+C or right-click the element and use the pop-up menu to do the copying. |
| 15. Right-click the Perspective element you created in step 14 and select Paste Special > Paste Symbol Layout from the pop-up menu: |
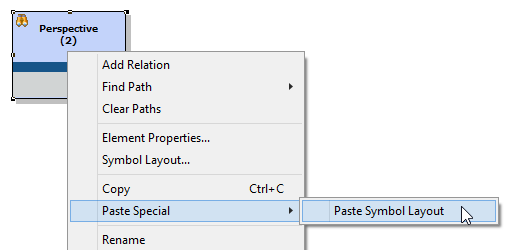
The modified symbol layout will be pasted to the new Perspective element. This way you do not have to repeat the modification each time you create a new element.
See the Symbol Layout Window topic in QPR Metrics - User's Guide for more information.