 Exercise 33: Create a Customized Action Discussion View.
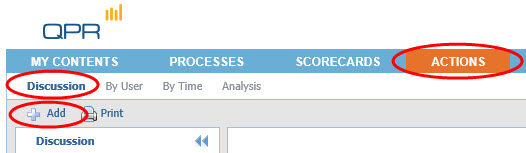
 | 1. On the Actions tab, click Discussion and  Add to add a new discussion: Add to add a new discussion: |
| 2. A window for creating a new action opens. From the drop-down menu in the top right corner of the window, select Comment as the Action type: |

| 3. Type in "View Designer Exercise" as the Header and add a Description if you want. |
| 4. From the Publish To section, select Everyone and uncheck the Notify via e-mail check box: |
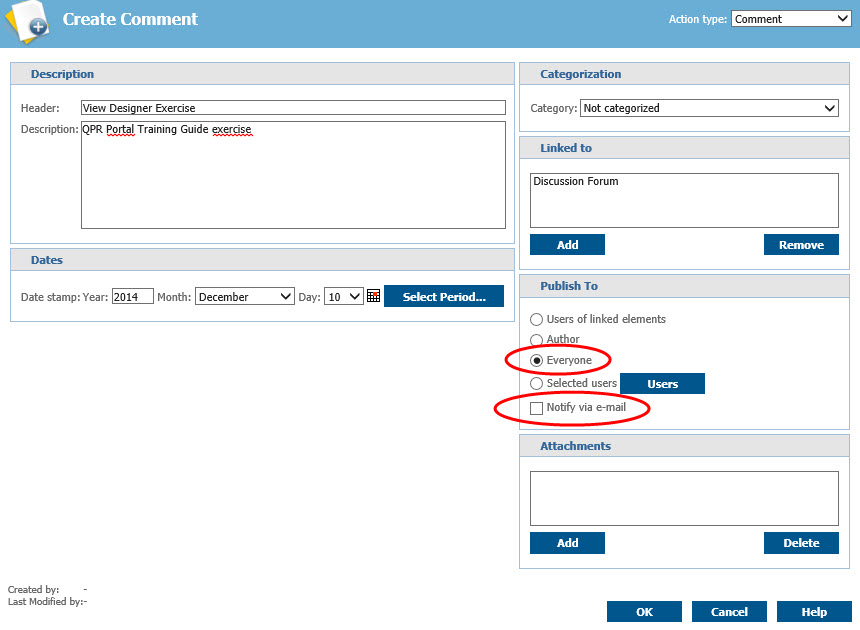
| 5. Click OK. |
| 6. On the Toolbar, click the  Show Designer button. Show Designer button. |
| 7. The View Designer opens in the Viewing Frame. In the Select Fields section, select the Attachments field and click the Remove button: |
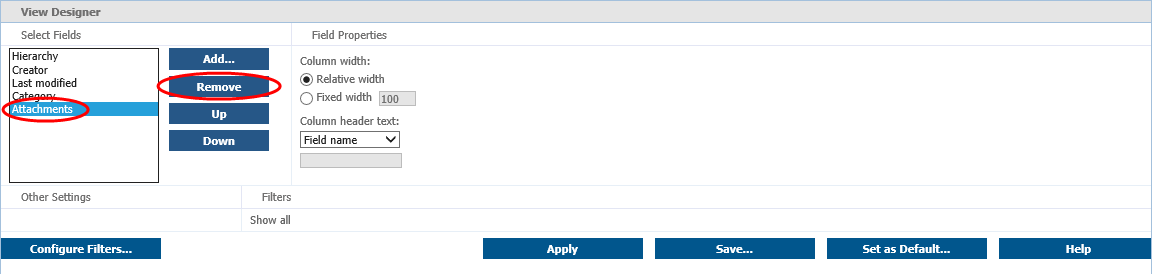
| 8. Click the Configure Filters button to open the View Filter Designer window. |
| 9. Select Type from the drop-down menu next to the disabled field displaying the text "and". |
| 10. Select Comment from the list below the "is any of the following" list and click Add: |
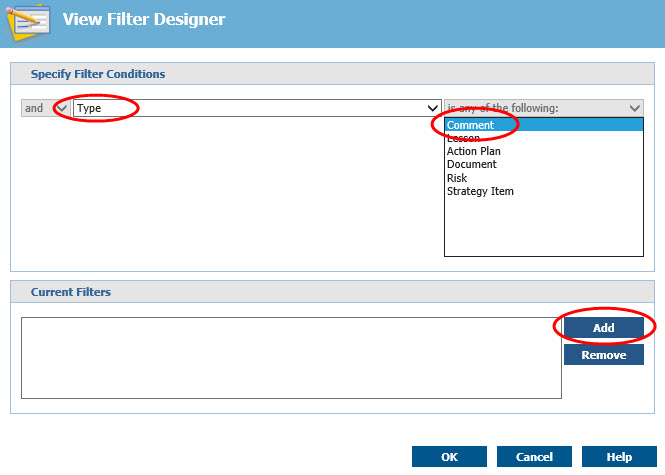
| 11. Click OK to close the View Filter Designer window. |
| 12. In the View Designer section, click Save: |
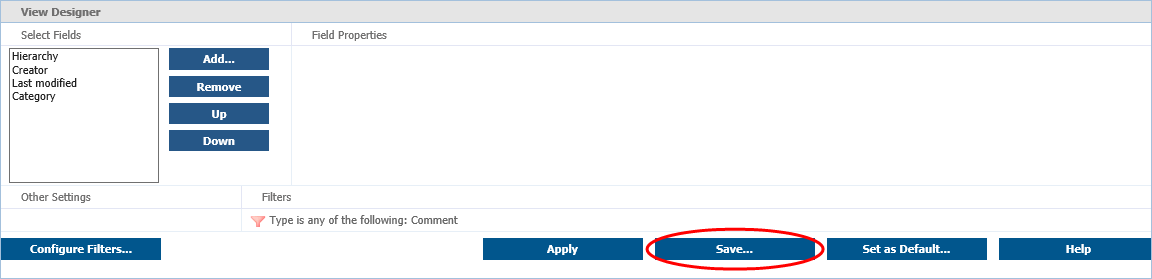
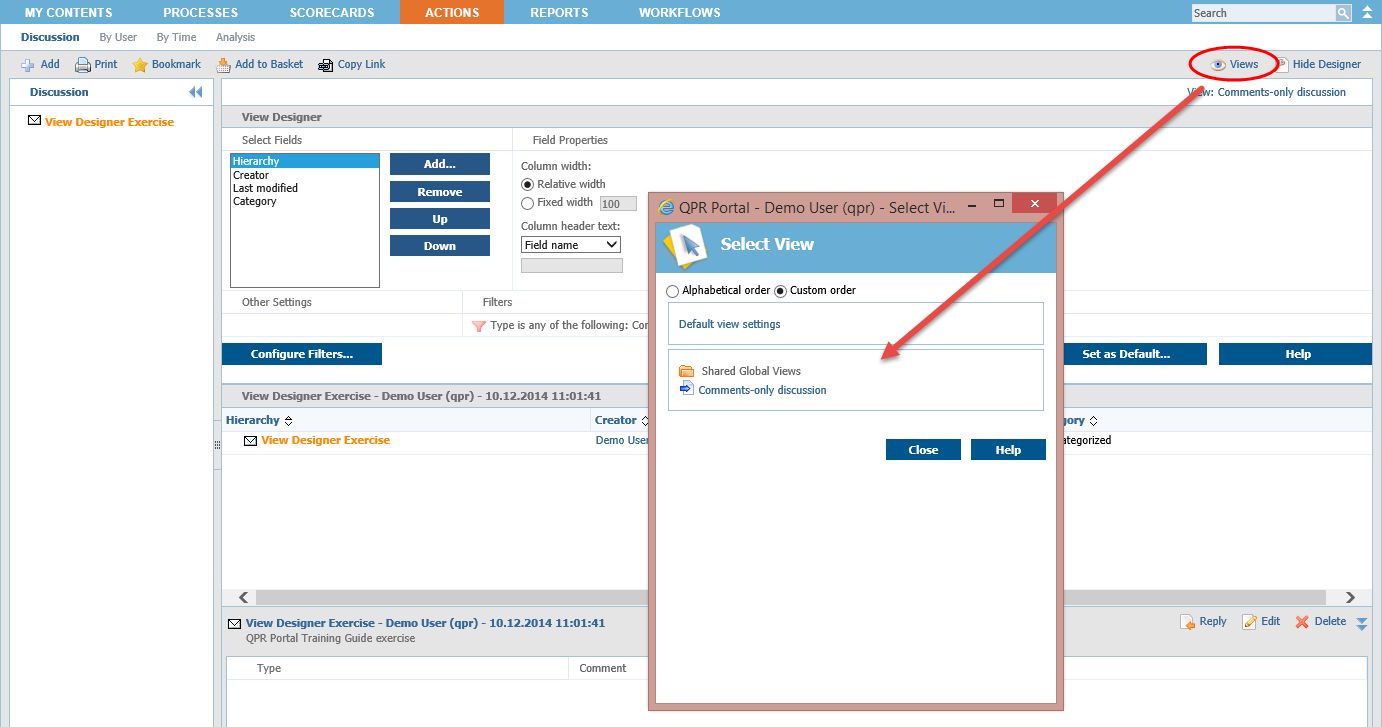
| 13. Type in "Comments-only discussion" as the name, select Everyone from the Publish To section, and click Save as. The saved view is now available in the Views menu: |
For more information, see the Using the View Designer topic, in QPR Portal - User's Guide.