|
|

Previewing and Publishing a Report |

|

|

|
||
Previewing and Publishing a Report |
|
|
|

|
|
|
Previewing and Publishing a Report |
|
|
|
||
Previewing and Publishing a Report |
|
|
|
|
|
|
||
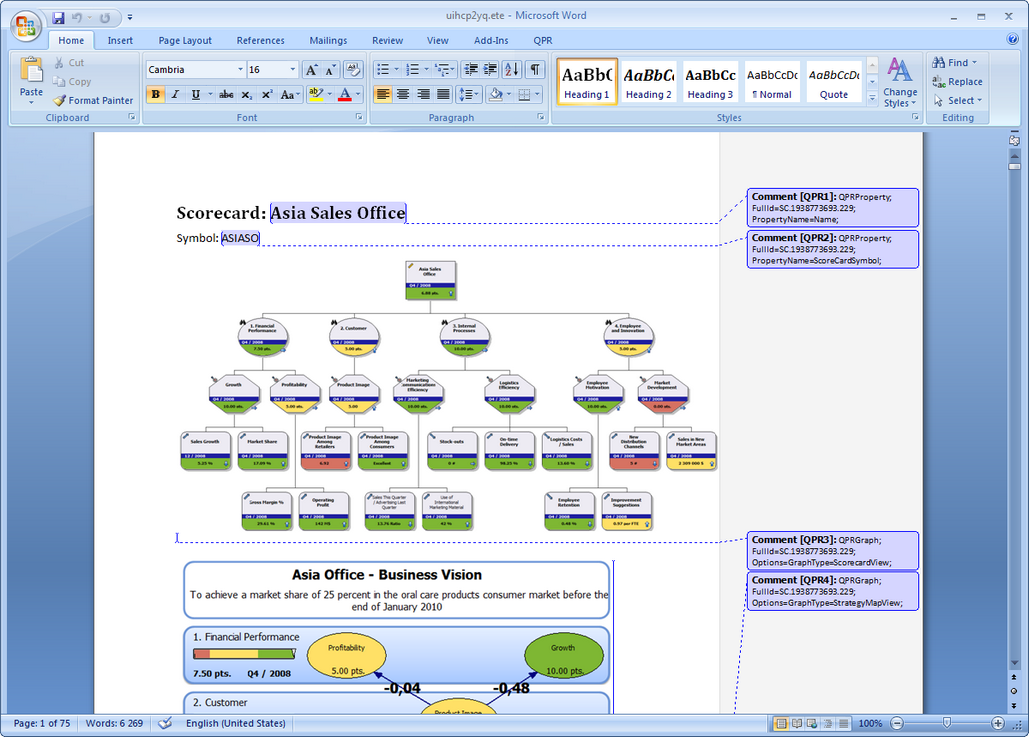
In this topic, we are going to take a look at how to preview and publish a report, and how those two functions differ from each other.
![]() Exercise 2: Preview a Report.
Exercise 2: Preview a Report.
| 1. Make sure you are connected to QPR web service. |
| 2. Open the SC_Report_Template.docx document found in the <QPR package root>\Add-Ons\QPR Add-In for Microsoft Office folder. |
| 3. On the QPR tab of the ribbon, click |
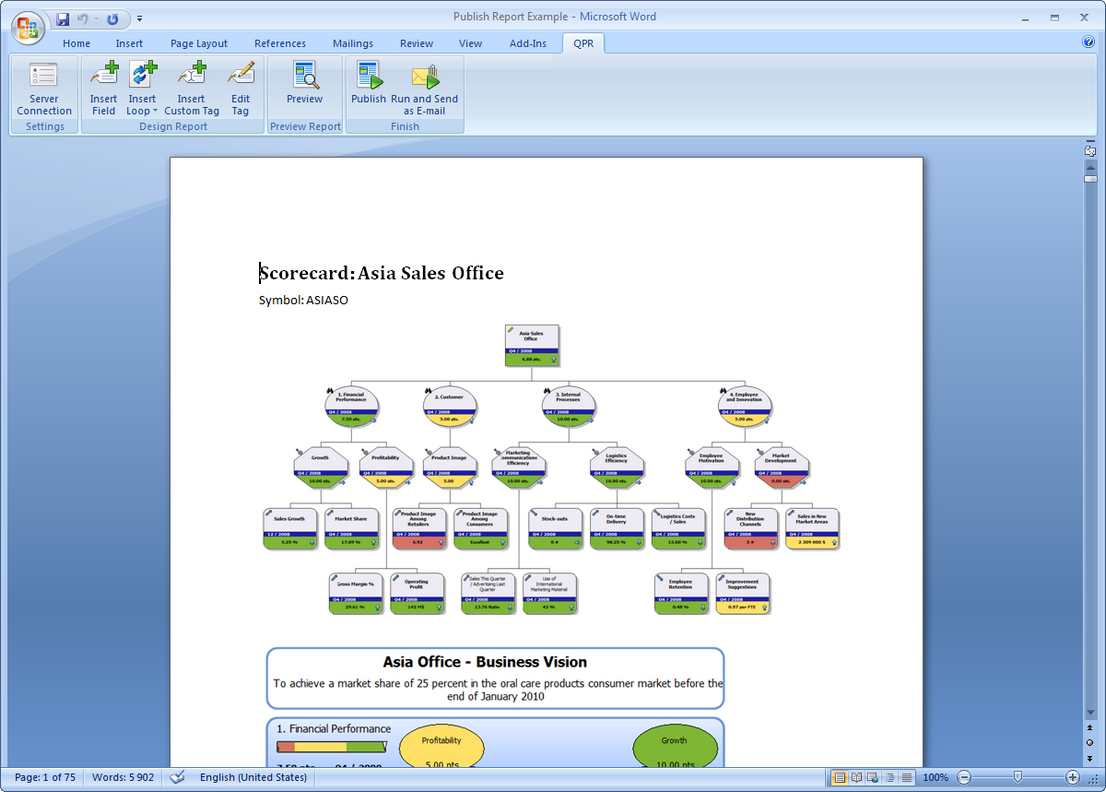
![]() Exercise 3: Publish a Report.
Exercise 3: Publish a Report.
| 1. Make sure you are connected to QPR web service. |
| 2. Open the SC_Report_Template.docx document found in the <QPR package root>\Add-Ons\QPR Add-In for Microsoft Office folder. |
| 3. On the QPR tab of the ribbon, click |
| 4. The Save Report As dialog will open. Choose a location and a name for the report and click Save. A clean version of the document will be created, in which filler texts are replaced by content according to the tags attached to them, and the tag holders are removed: |
For more information, see the Previewing the Document and Publishing the Document topics in QPR Add-In for Microsoft Office - User's Guide.