|
|

Information Items Dialog |

|

|

|
||
Information Items Dialog |
|
|
|

|
|
|
Information Items Dialog |
|
|
|
||
Information Items Dialog |
|
|
|
|
|
|
||
Information items are created, modified and deleted using the information items dialog. This dialog is accessed by selecting Information items in Model Elements menu. The information items dialog shows all the information items available in the model.
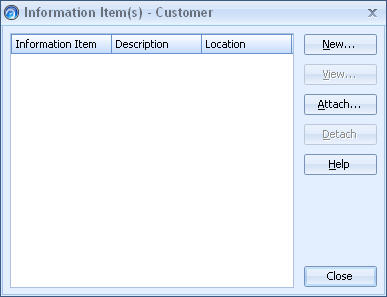
Information items dialog
Creating a New Information item
A new information item is created in the Information items dialog by clicking the New... button. The Information item dialog opens. In this dialog you can define the properties of the new information item.
Viewing and Modifying an Information item
An information item can be viewed and modified by selecting the desired information item and then clicking the View... button. The Information item dialog opens. In this dialog you can see and also edit the properties of the selected information item.
Deleting an Information item
An information item is deleted by selecting it from the list in the Information items dialog and clicking the Delete button. Before deleting, QPR Modeling Client asks you to confirm the operation.
Using Information Items to Link to Another QPR Portal
If Common QPR Authentication is in use between different QPR installations, it is possible to use an information item to link to a view in another QPR Portal from the current one. To do this, append a "&XSESSION=<#sessionid>" parameter to the end of the target QPR Portal view URL and use that URL in the information item location field in the QPR installation from where you are linking. For example: http://your.host.here/QPR2017-1/Portal/QPR.Isapi.dll?SCPLUGIN&*xlink&VTN=SCVIEW&SID=iOC06088pgkcL28yvVaYQw5cqNNaLYzss-eh7GK&PMAIN=scorecards&PSUB=SCPLUGIN_scorecards&PPRM=MOD=1938773693?1_0_1938773693_1158872286&XSESSION=<#sessionid>. For information about configuring the Common QPR Authentication, see the QPR - Administrator's Guide.