Information Items Window |

|

|

|
||
Information Items Window |

|

|

|

|
|
|
||
Creating a New Information Item
Viewing and Editing an Information Item
Using Information Items to Link to Another QPR Portal
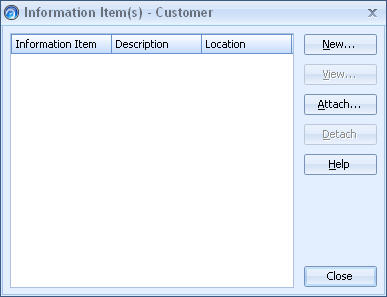
In the Information Items window you can create, view, attach and detach information items for the currently selected Element.
Opening the Information Items Window
| 1. | To open the information items window, right-click the element in Scorecard Navigator and select Create New |
| 2. | The Information Items window opens: |
 |
Creating a New Information Item
To create a new information item in the Information Item(s) window, do the following:
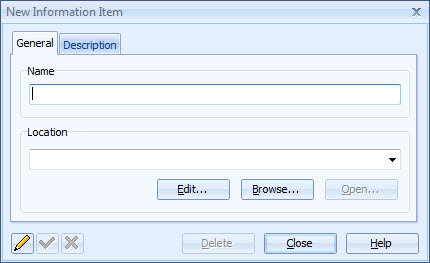
| 1. | Click New... The Information Item dialog, which contains a General tab and a Description tab, opens. |
 |
| 2. | In the name field, type a name of the information item. |
| 3. | Choose the location of the information item by pressing Browse... and locating it from the opening dialog. If you wish to type in a web address, be sure to enter the full address, e.g. "http://www.qpr.com". Note that in order for the information item to be available in QPR Portal, the location must be either a URL or a UNC path (i.e. \\server\path\file). Using regular URL addresses is recommended as for instance browser security settings can prevent opening of UNC paths and accessing UNC paths with browsers running on other platforms than Windows may require additional configuration or third party tools. Note: The only supported character encoding used in the information location URLs is the UTF-8 based Uniforn Resource Identifier encoding described in the RFC 3986 document. |
| 4. | You can insert parameters for the information item by clicking the Edit... button. |
| 5. | You can test the information item by pressing Open. It will open the information item with the application that has registered the file type. For example, files with extension of "doc" are usually opened with Microsoft Word. |
| 6. | You may also give a brief description about the information item. To do this, click the Description tab and enter in the description. |
| 7. | Click the accept button |
| 8. | Click the Close button. The new information item will now appear on the list of information items that are attached to the currently selected Element. |
Note: Information items can also be created directly from the Model Navigator of the Scorecard Explorer or Scorecard Navigator.
Viewing and Editing an Information Item
First select the information item from the list and then click the View button. You can also view an information item by simply double-clicking its name from the list. The selected information item opens.
To edit the item, press the edit button ![]() Enter your changes and press the accept button
Enter your changes and press the accept button ![]() to apply them or otherwise, press the cancel button
to apply them or otherwise, press the cancel button ![]() to cancel the changes.
to cancel the changes.
Once you have finished editing the information item, click the Close button to return to the Information Items window.
Attaching Information Items
Information items that already exist in the model can be attached to the currently selected element. To attach an information item to the currently selected element, right-click the element in the Scorecard Navigator and select Create New ![]() Information Item.
Information Item.

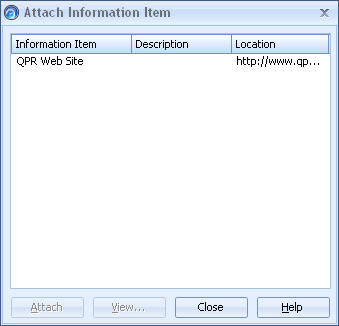
This will open a window in which you can select from a list of information items that already exist in the model but are not attached to the currently selected element. Select the desired information item and click Attach. The selected information is now added to the list of items attached to the element.
Detaching Information Items
An information item can be detached or removed from the Element without being deleted from the model. Select from the list the information item that you want to detach from the current element and the click the Detach button. The information item is now detached from the element. This information item still exists however and is available to be attached to any element in the model.
Deleting an Information Item
To delete an information item, you must first view the information item by selecting the item and clicking the View button or by simply double-clicking the item.
Using Information Items to Link to Another QPR Portal
If Common QPR Authentication is in use between different QPR installations, it is possible to use an information item to link to a view in another QPR Portal from the current one. To do this, append a "&XSESSION=<#sessionid>" parameter to the end of the target QPR Portal view URL and use that URL in the information item location field in the QPR installation from where you are linking. For example: http://your.host.here/QPR2017-1/Portal/QPR.Isapi.dll?SCPLUGIN&*xlink&VTN=SCVIEW&SID=iOC06088pgkcL28yvVaYQw5cqNNaLYzss-eh7GK&PMAIN=scorecards&PSUB=SCPLUGIN_scorecards&PPRM=MOD=1938773693?1_0_1938773693_1158872286&XSESSION=<#sessionid>. For information about configuring the Common QPR Authentication, see the QPR - Administrator's Guide.